A Beginner's Guide to Contributing on GitHub
Learn open-source contribution basics through a community cookbook analogy, covering forks, pull requests, and workflows.
Contributing to open-source projects on GitHub can feel intimidating at first, but it’s a rewarding way to learn, collaborate, and build experience. This guide uses a simple story about a community cookbook to explain the core concepts and workflow in a way that’s easy for anyone to understand.
The Story: The World Dumplings Cookbook
Imagine a famous open-source community cookbook called the “World Dumplings Cookbook” 🍲. It contains dumpling recipes from all over the world, created and improved by a global community of food lovers. It’s a living document, constantly being refined and expanded.
What Makes It “Open Source”?
The cookbook is open for everyone to read and learn from, just like a public GitHub repository. Anyone can suggest changes, fix a typo in an ingredient list, or add a completely new recipe. This collaborative effort means the quality of the cookbook improves over time. However, to maintain quality and prevent chaos, not just anyone can edit the master cookbook directly. All proposed changes must be reviewed and approved by the cookbook’s owner, the maintainer.
This is where GitHub comes in.
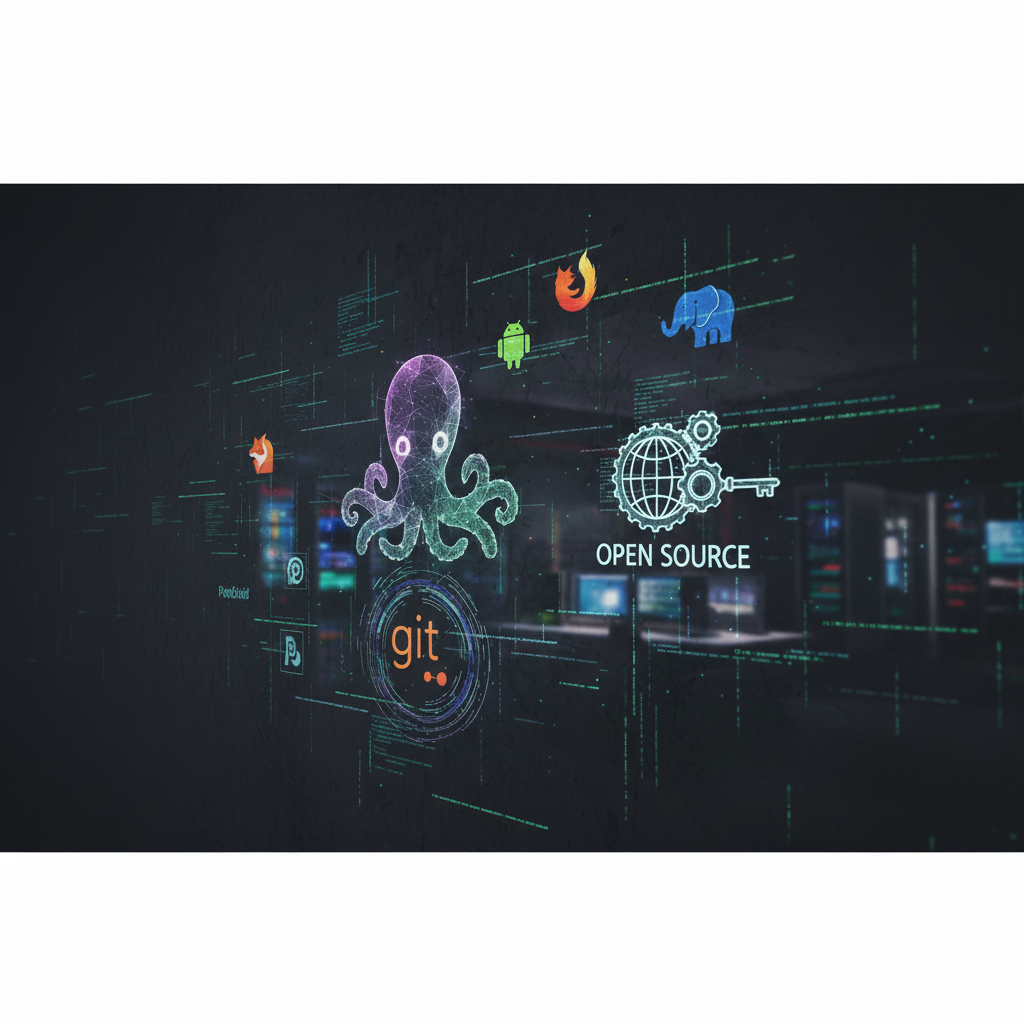
What is GitHub?
GitHub is like an online community kitchen where people work together on shared projects, or in our story, cookbooks. It provides the tools and structure needed for safe and organized collaboration.
Here are the essential terms to understand, explained through our cookbook story:
| GitHub Term | Cookbook Analogy | Explanation |
|---|---|---|
| Repository (Repo) | The master cookbook | This is the project’s central storage location on GitHub. It contains all the files, history, and discussions related to the project. |
| Git | The change-tracking system | Git is the underlying technology that records every single change made to the project—who made it, when they made it, and what they changed. |
| Fork | Your personal copy of the cookbook | A fork is a personal copy of the main repository that lives in your own GitHub account. It’s your private workspace where you can experiment freely without affecting the original project. |
| Clone | Bringing your cookbook into your kitchen | Cloning means downloading your forked repository from GitHub to your local computer. This allows you to work on the files directly, even without an internet connection. |
| Branch | A new page for a new recipe | A branch is a separate line of development within your repository. You create a new branch for each distinct feature or fix you want to work on, keeping your changes organized and isolated from the main codebase. |
| Commit | A snapshot of your finished dish | A commit is a saved snapshot of your changes at a specific point in time. Each commit has a message describing the changes, creating a clear and traceable history of your work. |
| Push | Uploading your recipe to your online shelf | Pushing means uploading your committed changes from your local computer back up to your forked repository on GitHub. |
| Pull Request (PR) | Asking the owner to add your recipe | A Pull Request is a formal request to the project maintainer to “pull” your changes from your fork into the official, original repository. It’s the heart of GitHub collaboration, as it opens a discussion and review process. |
| Upstream | The original master cookbook | “Upstream” refers to the original repository you forked from. You need to keep your fork synced with the upstream repository to ensure you have the latest changes from the community. |
| Merge | Your recipe becomes official | Merging is the action the maintainer takes to approve your Pull Request and integrate your changes into the main project. Your contribution is now officially part of the cookbook! |
The Step-by-Step Workflow: From Reader to Contributor
Here is the complete process for contributing your first recipe to the World Dumplings Cookbook.
Step 1: Fork the Repository
- Analogy: Make your own copy of the cookbook.
- Action: On the main project’s GitHub page, click the “Fork” button. This creates a copy of the repository under your personal GitHub account.
Step 2: Clone Your Fork
- Analogy: Bring your cookbook into your kitchen.
-
Action: On your forked repository’s page, find the clone URL and run the command
git clone <your-fork-url>in your terminal. This downloads the project to your computer.
Step 3: Connect to the Original Cookbook (Upstream)
- Analogy: Stay connected to the master cookbook for updates.
-
Explanation: The term
upstreamis particularly meaningful when you’ve forked someone else’s repository. In this scenario:-
originrefers to your fork (your personal copy on GitHub). -
upstreamrefers to the original author’s repository (the master cookbook). If you haven’t forked a repository, and it’s your own project, there is noupstreambecause nothing exists “above” your repository.
-
-
Action: In your terminal, navigate into the cloned project directory and run
git remote add upstream <original-repo-url>. This creates a reference to the original repository, allowing you to pull in updates. -
Keeping Your Fork Updated: To ensure your local copy and your fork stay current with the original project, you’ll need to fetch and merge changes from
upstreamregularly. Here are the commands:-
git fetch upstream: Downloads the latest changes from the original repository without integrating them into your local branches yet. -
git merge upstream/main(orupstream/master): Integrates the fetched changes from the originalmain(ormaster) branch into your currently active local branch. -
git pull upstream main(orupstream/master): This command is a shortcut that performs bothgit fetchandgit mergein one step.
-
Step 4: Create a New Branch
- Analogy: Start a new page for your dumpling experiment.
-
Why Branches? Think of your project like a cookbook. The main cookbook (called
mainormasteron GitHub) holds the official recipes. If you want to try out a new recipe or tweak an existing one without affecting the main cookbook, you create a separate copy to experiment on. This separate copy is called a branch. You can make changes freely there, and when you’re ready, you can merge your improvements back into the main cookbook. Branches allow you to:- Work on new features or fixes in isolation without affecting the stable
mainbranch. - Experiment freely and make mistakes without fear of breaking the main project.
- Keep your work clean and organized, making it easier for others to review.
- Work on new features or fixes in isolation without affecting the stable
-
Action: It’s good practice to create a new branch for each feature or fix. While
git checkout -b <branch-name>is a common shortcut, it’s considered riskier becausegit checkoutcan also operate on individual files, which could accidentally overwrite work. A clearer, safer approach is to do it in two steps:- Create the branch:
1

git branch <branch-name>
- Switch to the branch:
1

git switch <branch-name>
Alternatively, you can use a concise one-step command with the modern recommended syntax:
1

git switch -c <branch-name>
Here,
-cstands for create, which creates the branch and immediately switches to it safely.
Step 5: Make Your Changes
- Analogy: Cook the dumplings!
- Action: Now you can edit the files on your computer. Add your new recipe, fix a bug, or improve the documentation. This is where you do the actual work.
Step 6: Stage and Commit Your Changes
- Analogy: Take a photo and write notes about your finished dish.
-
Action: Once you’re happy with your changes, you save them. First, stage them with
git add ., then commit them with a descriptive message usinggit commit -m "Add Nepalese momos dumpling recipe". This creates a permanent snapshot of your work.
Step 7: Push Your Branch to GitHub
- Analogy: Upload your recipe to your online shelf.
-
Action: Send your committed changes from your local machine up to your forked repository on GitHub. The first time you push a new branch, you’ll typically use:
1

git push -u origin add-nepalese-momos
The
-uflag (or--set-upstream) sets the upstream branch, so for subsequent pushes on the same branch, you can simply usegit push. Remember, you push to yourorigin(your fork), notupstream(the original repository), as you do not have direct write access to the original repository.
Step 8: Open a Pull Request (PR)
- Analogy: Ask the owner to include your recipe in the official cookbook.
- Action: Go to your forked repository on GitHub. You will see a prompt to open a Pull Request. Write a clear title and description for your changes, explaining what you did and why. This notifies the project maintainer that your contribution is ready for review.
Step 9: Respond to Feedback
- Analogy: Refine the recipe based on the owner’s suggestions.
-
Action: The maintainer may review your code and request changes. If so, simply make the edits on your local branch, commit them, and push them again. The Pull Request will update automatically with the new changes.
What Happens After a Pull Request is Submitted? (Maintainer Options)
Once you submit a Pull Request, the repository maintainer has several options for how to handle your proposed changes. Understanding these options can help you anticipate their feedback and understand the final outcome of your contribution.
Option 1: Merge Pull Request
- Analogy: “Yes, accept this as-is.”
-
Explanation: This is the most straightforward option. The maintainer accepts your changes and integrates them directly into the
mainbranch of the original repository. GitHub will take all your commits and add them to themainbranch, preserving the full commit history from your branch. - When it’s used: Typically when your commits are clean, well-organized, and the maintainer wants to maintain a detailed history of who did what.
Option 2: Squash and Merge
- Analogy: “Yes, but make it one clean commit.”
-
Explanation: If your Pull Request contains many small, incremental commits (e.g., “fix typo,” “oops,” “try again”), the maintainer might choose to “squash” them. This combines all your commits into a single, new commit before adding it to the
mainbranch. This results in a cleaner, more concise project history. - When it’s used: When the maintainer prefers a linear history where each feature or fix corresponds to a single, meaningful commit. This is a very common practice in many professional teams.
Option 3: Rebase and Merge
- Analogy: “Yes, replay their commits on top of main.”
-
Explanation: This option reapplies your commits one by one on top of the latest
mainbranch. It creates a linear history without any merge commits, making the project history look as if your changes were written directly on themainbranch from the start. - When it’s used: When maintainers want a perfectly linear project history without the “merge bubbles” that can appear with regular merges.
Option 4: Request Changes
- Analogy: “Not good enough yet.”
- Explanation: The maintainer may leave comments on your Pull Request, pointing out areas for improvement, suggesting alternative approaches, or asking for clarification. Your task is then to address these comments by making further edits on your local branch, committing them, and pushing them again. The Pull Request will automatically update with your new changes.
Option 5: Close the Pull Request
- Analogy: “No, we’re not accepting this.”
- Explanation: In some cases, the maintainer might decide not to accept your contribution. This could be due to various reasons, such as the changes not aligning with the project’s vision, being out of scope, or duplicating existing efforts. When a PR is closed, none of your changes are merged into the main project.
Step 10: Merge!
- Analogy: Your dumplings are now an official part of the cookbook!
- Action: Once the maintainer is satisfied and has chosen one of the merging options (Merge, Squash and Merge, or Rebase and Merge), your Pull Request will be integrated. Your code is now part of the main project, and your contribution is officially recorded. Congratulations, you're an open-source contributor! ✨